My Story

After living in my home for 10 years I have decided to take on a backyard re-design and install an artificial putting green on my own. I have completed extensive research and I feel that I can complete the project on my own without using any professional services. I did research how much it would cost to have this completed 100% by a professional company and I am attempting to be able to accomplish the same job for Underhalf of that price.

Thursday, October 25, 2012

Final Pictures

After a lot of research and more time and labor than I expected, I finally finished my Backyard putting green project.  I think that I ended up completing the whole project just under $6 a square foot.  Other quotes that I had received before starting this project were around $14 a square foot.  I think that the final result turned out very nice.


Days 3, 4 and 5

The step before the below sanding was to lay down commercial grade weed fabric between the seems and glue it with PL 375 adhesive.  I did not have good luck with the glue drying, I think the glue should have been exposed to outside air for a longer period of time.  After gluing I used 4 inch galvanized nails to nail the fringe down closest to the green surface.  Do not nail the green surface.


After nailing I spread about 12 bags of sand, then spread and then added more.

I found that a softer bristle broom worked well, as well as a large plastic leaf rake.

Before nailing down the outside down I had to cut the fringe.  I used a power cutter for the job around by the cement curbing and I used the box blade for the cuts around the patio.  After cutting to my satisfaction I nailed down the outside of the fringe around the whole green.

I now could cut the cups out!  This took a lot of sharp blades to do well.  I used around 7 to 8 blades per hole.  I cut an X shape in the hole then I laid my blade on the outside of the hole and cut around.

Tuesday, October 23, 2012

Saturday October 06

The first thing saturday morning we rolled out the putting surface to where we wanted it to go.  Earlier we had rolled a soccer ball over the ground surface to make sure that we were happy with the elevations and breaks.


In order to get nice lines in the putting surface we placed a water hose around the green and used it as a  guide for our greens shape.  We then nailed against the hose, raised the putting surface and connected the dots with chalk.  We then used the chalk lines to cut the surface from the back.
After the green was cut, we got right to work on the fringe.  The first thing we did was to unroll it and then broom and rake it to get the fibers to stand and bloom.  Next we cut rough pieces and laid them around the green.   We raised the green surface and placed the fringe under the putting surface and made nail holes through the fringe.  Lastly, we connected the dots of the nail holes with a sharpe and then cut out the pieces.

Wednesday, October 17, 2012

Friday October 5th

First thing Friday morning I went to Home Depot and rented a 20inch plate compactor.  I compacted the topsoil 3 times.  This was very tough the first 2 times until compaction tamped the ground down more tightly.

At 10 am I had 4.5 cubit yards of road base II and 2.5 yards of arena sand delivered from Valley Rock of Loomis.

I started loading up wheelbarrows of the roadbase and the delivering it to the back yard.    Around noon my turf and fescue was delivered.  Each roll weighed about 230 lbs.

Once I felt that I had 2 inches of material I spread it out with a landscaping rake, then I wet it down and ran the compactor over the surface.  Each time I compacted I did it twice, watering along the way.


After the compaction was complete and the elevation was like I wanted it the 6 inch aluminum  cups were placed.  I used post hole diggers and went down about 8 inches then used gravel to get the cups to where they were 1/4 inch above the ground and level.  Then I added post hole cement and wet it down.

After compaction we drew a painted line of how we wanted the shape of the putting surface to be.

Capping all sprinkler heads

I capped all of the sprinkler heads with a cap and buried them.  I also covered the drainage with a drainage sock and filled in around it with gravel so water should drain thru.

Monday, October 1, 2012

Flags and Cups

Today the flags and 6 inch Aluminum cups were delivered from Dan at
Bentgrassputtinggreens.com, this is starting to feel more real now.

Install Week

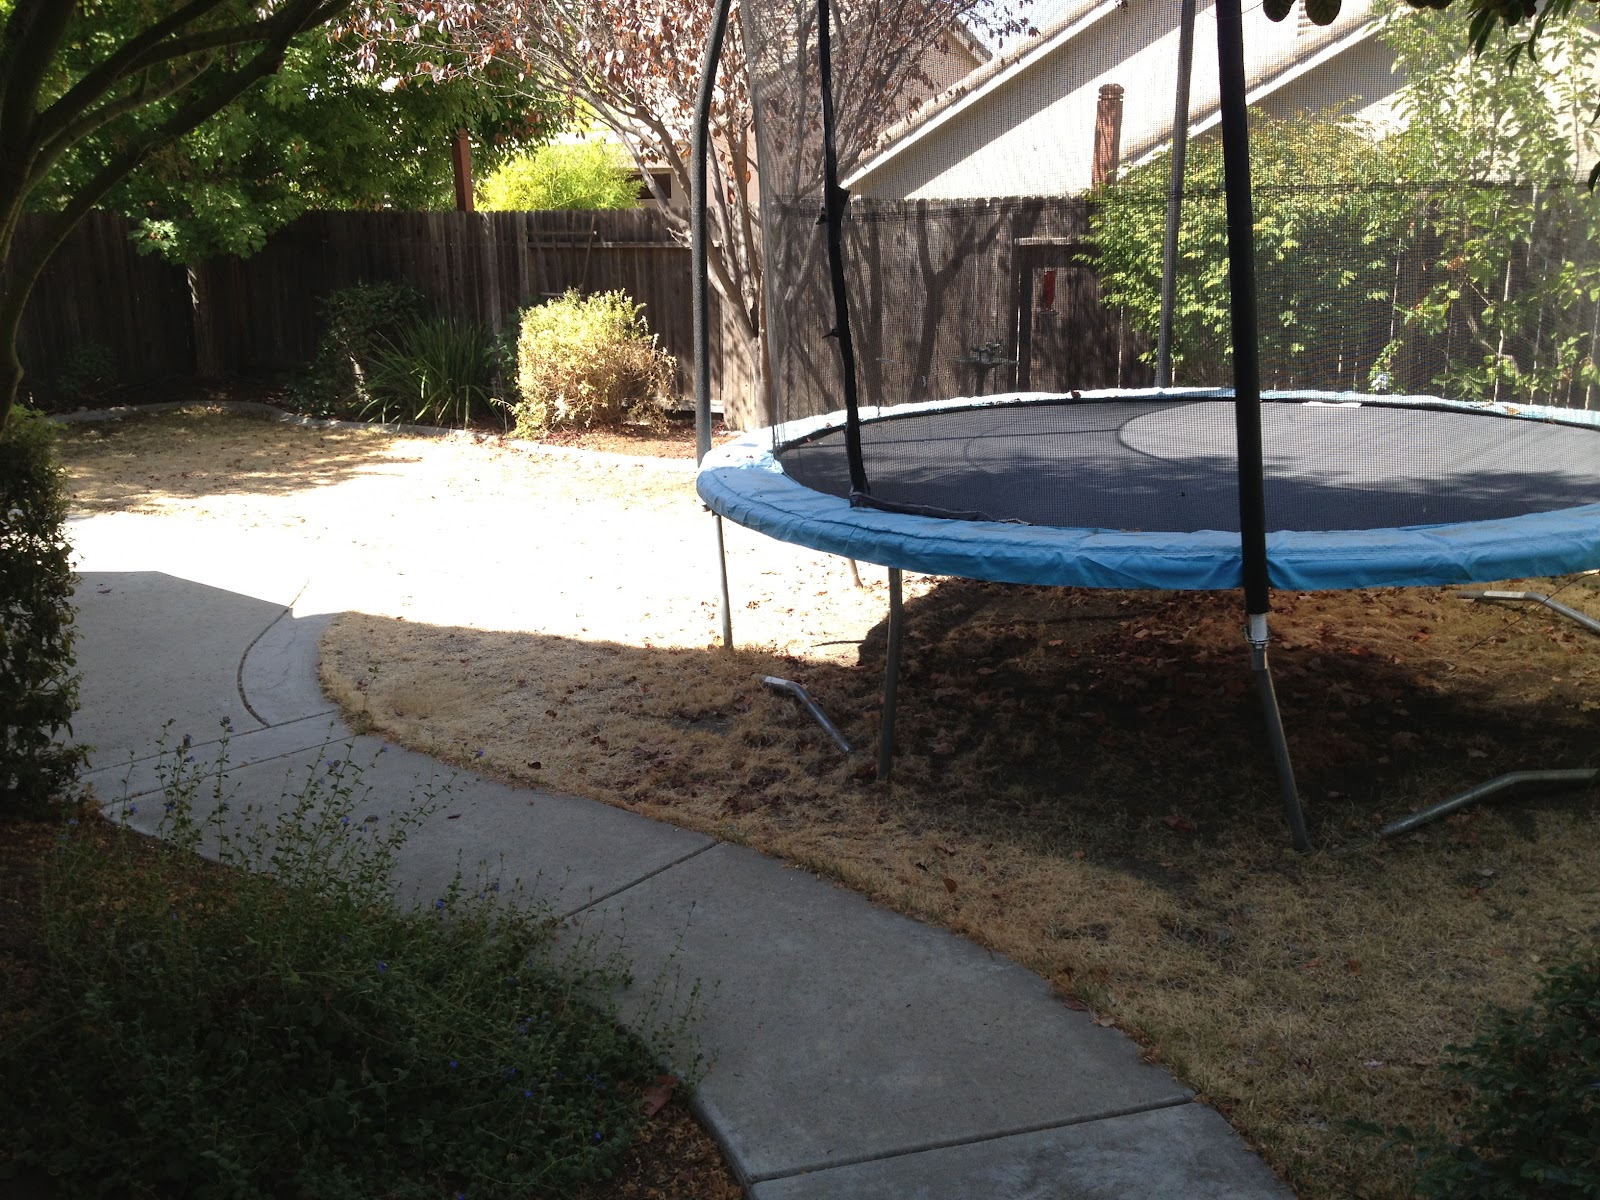
This is the Monday before I start my install on Friday. In preparation for the big event I have had to plan  what tools and materials I am going to need.  Today I had pool filter sand #20 from Leslie's Pool supplies delivered.  I needed about 1,600 pounds of sand for the fill so I had 32 fifty-pound bags delivered today.


I have ordered my sub-base material from Valley Rock supplies in Loomis, CA.  On Friday they will be delivering 4.5 cubic yards of road base II and 2.5 cubic yards of compactable arena sand.  I have purchased contractor grade weed fabric and PL375 glue for the seams.  I am having a hard time finding the nails that I need, 60D galvanized common nails, so far Lowe's and Home Depot have not had Galvanized 60D nails.  I was only able to find a few at Walmart of all places.

I plan on renting a plate compactor and a landscaping rake from the Home Depot on Friday.

Finished De-Landscaping


Saturday I was able to finish taking out all of the sod from the yard.  I had completed 500 of the 650 sq feet by hand with a pick ax.  My father-in-law felt sorry for me and showed up with a sod cutter to help to finish the job...Thanks Fred!  I also have signed Fred up to help with the install next weekend.


Friday, September 28, 2012

Choosing the turf product


Trying to decide what product to purchase and where to buy it from was a tough decision.  There are many products on the web, at COSCO and home improvement stores.  I did a lot of research and determined that I wanted to go with a polypropylene material.  Most of the companies that I found typically use a nylon material and from my research I found that it is harder to clean, and doesn't perform as well as a polypropylene product.  I found a few companies online that sold the product, I called them all to interview the companies because I am going to need technical support via phone leading up to and during the install.  I found that Dan from Artificial Turf and Putting Greens (www.artificialturfandputtinggreens.com) had the most experience and was also by far the most helpful.  Dan also is an owner of the company and makes the product himself.  I am very pleased so far by my decision,  Dan has spent a lot of time with me on the design of my project, the materials that I will need, as well as how to complete the project on my own.
I decided to go with the Double Eagle 3/4 inch non directional putting turf and the multi-color 1 1/4 short fescue

The Trampoline is GONE!

Before

After 3 years it is finally gone!  Now I can finish ripping out the remaining sod and grass.

Thursday, September 20, 2012

The before pictures and Plot Plan:
Panoramic picture, the scale is off on it, grass area is around 650 Sq ft.
The trampoline has to go!
Middle of yard


September 17, 2012...Day 1 of the project

I am planning to take out the current dead grass in my yard with a pick ax.  The reason that this is a difficult job is because of the surface roots that my maple and purple leaf plumb have produced over the past 9 years.  I am spending about 1.5 hours a day on this, we will see how long it will take.  I know that I could rent a sod cutter for the job for around $75, but I think there may be to many roots for it, and I am trying to save money on the job.